ব্লগ সাইটে কনটাক্ট বাটন যুক্ত করুন।
যুক্ত করবেন আপনার ব্লগার সাইটে ।যেটির উপর চাপ দিলে নিচের মত অপসন আসবে।
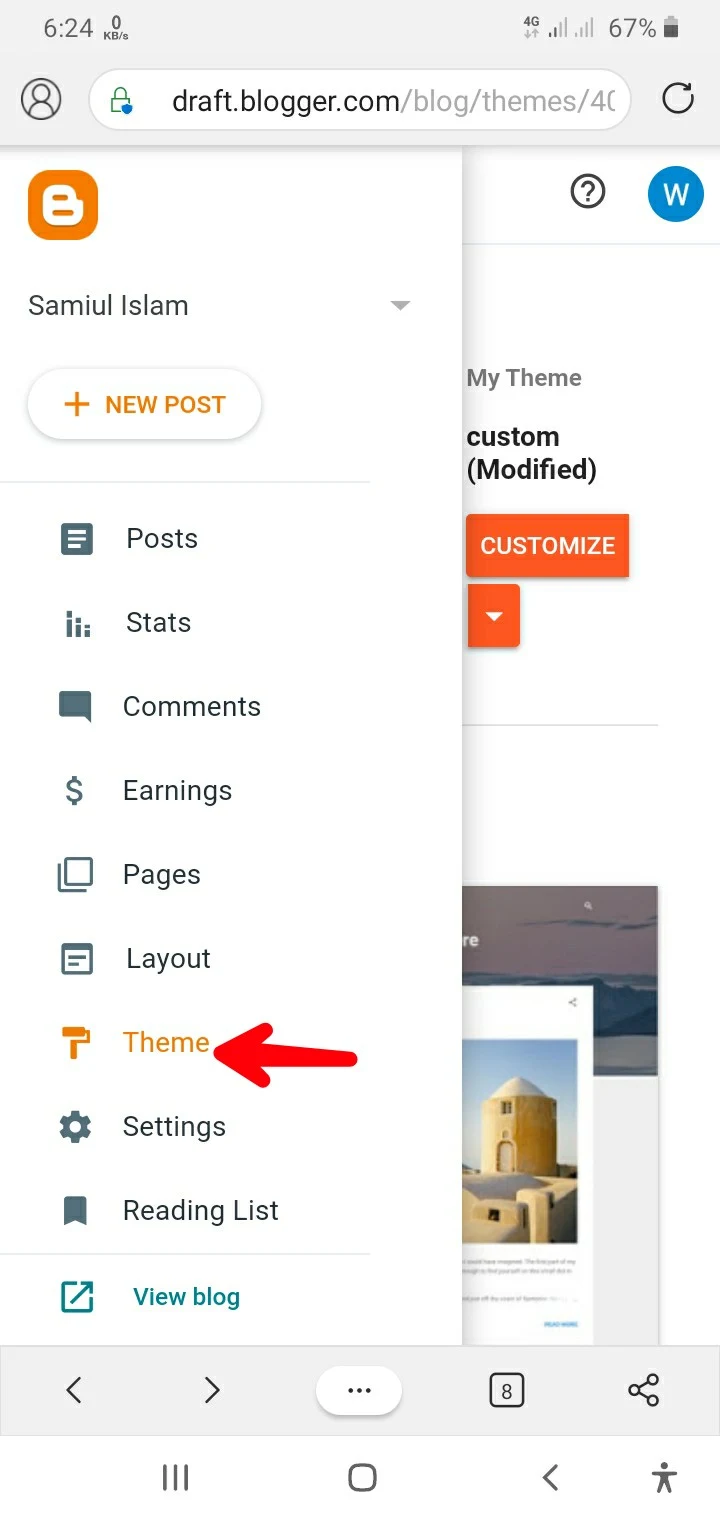
প্রথমে ব্লগারে লগিন করে আপনার ব্লগের Dashboard হতে setting এ গিয়ে Theme এডিট করতে হবে।
1. Enter your blogger account> Themes> Edit >HTML
→Themes
→Edit>HTML
→ Add the css coad paste here....
CSS COAD
//<![CDATA[
var arCuMessages = ["Contact Us!", "You Need Our Help?"];
var arCuLoop = false;
var arCuCloseLastMessage = false;
var arCuPromptClosed = false;
var _arCuTimeOut = null;
var arCuDelayFirst = 2000;
var arCuTypingTime = 2000;
var arCuMessageTime = 4000;
var arCuClosedCookie = 0;
var arcItems = [];
window.addEventListener('load', function() {arCuClosedCookie = arCuGetCookie('arcu-closed');
jQuery('#arcontactus').on('arcontactus.init', function() {
if (arCuClosedCookie) {
return false;
}
arCuShowMessages();
});
jQuery('#arcontactus').on('arcontactus.openMenu', function() {
clearTimeout(_arCuTimeOut);
arCuPromptClosed = true;
jQuery('#contact').contactUs('hidePrompt');
arCuCreateCookie('arcu-closed', 1, 30);
});
jQuery('#arcontactus').on('arcontactus.hidePrompt', function() {
clearTimeout(_arCuTimeOut);
arCuPromptClosed = true;
arCuCreateCookie('arcu-closed', 1, 30);
});
var arcItem = {};
arcItem.id = 'msg-item-1';
arcItem.class = 'msg-item-facebook-messenger';
arcItem.title = 'Messenger';
arcItem.icon = '';
arcItem.href = 'https://m.me/no';
arcItem.color = '#567AFF';
arcItems.push(arcItem);
var arcItem = {};
arcItem.id = 'msg-item-9';
arcItem.class = 'msg-item-telegram-plane';
arcItem.title = 'Zalo Chat';
arcItem.icon = '';
arcItem.href = 'https://zalo.me/no';
arcItem.color = '#1EBEA5';
arcItems.push(arcItem);
var arcItem = {};
arcItem.id = 'msg-item-6';
arcItem.class = 'msg-item-skype';
arcItem.title = 'Skype Chat';
arcItem.icon = '';
arcItem.href = 'skype://no?chat';arcItem.color = '#1C9CC5'; arcItems.push(arcItem);
var arcItem = {};
arcItem.id = 'msg-item-7';
arcItem.class = 'msg-item-envelope';
arcItem.title = 'Get an email';
arcItem.icon = '';
arcItem.href = 'mailto:no@gmail.com';
arcItem.color = '#FF643A';
arcItems.push(arcItem);
var arcItem = {};
arcItem.id = 'msg-item-8';
arcItem.class = 'msg-item-phone';
arcItem.title = 'Call +880177777777';
arcItem.icon = '';
arcItem.href = 'tel:01778877777';
arcItem.color = '#4EB625';
arcItems.push(arcItem);
jQuery('#arcontactus').contactUs({
items: arcItems
});
});
//]]>এখানে আপনি আপনার তথ্য দিয়ে ইডিট করে পেস্ট করুন।
এইটার সাথে আছে
ফেসবুক ম্যাসেঞ্জার , স্কাইপ চ্যাট এবং ইমেল ও মোবাইল নাম্বার ।
ডেমো দেখুন
Live Demo: See Demo
কিভাবে নিজের তথ্য দিবেন..??
arcItem.href = 'tel:01778877777';
এই ট্যাগ টা ভালো মতো লক্ষ করুন arcItem.heref আপনারা শুধু এই ট্যাগ টা change করে নিজের তথ্য দিয়ে ইডিট করলেই হবে।
যেমন এখানে আপনার নাম্বার যদি ০১৭xxxxxxxxxxx হয় তাহলে লিখবেন
arcItem.href = 'tel:০১৭xxxxxxxxx';ব্যাস এতটুকুই আর কোন change করা লাগবেনা।
এভাবে সবগুলা ইডিট করুন
Sorry কোড গুলা একবারে দিতে পারিনি, কয়েকটি বক্স হয়ে গেছে আপনারা কিন্তু একবারে Fast to last কপি মারবেন।
ধন্যবাদ।


অসাধারণ পোস্ট, ভালো লাগলো, ট্রিকবিডি থেকে আপনার সাইটে আসা, আপনার সাইটটের ডিজাইনটা খুব সুন্দন, এগিয়ে যান ভাই,,
Thanks vai